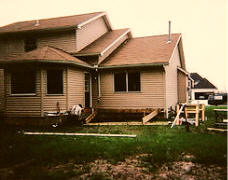
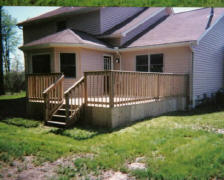
One of my all time favorite things to build is decks. This one here was built to the shape of the rear of the house, with one side angled around the side by the window.
The first step in deck building is installing the ledger board abainst the house. It usually entails removing the first course of siding to attach the ledger to the box joist at the house frame. and attach hangers 16" on center.
The next step is to install the header that the joists will rest on. This deck was long enough to have to install a header in the middle and posts at the end to support the front of the deck.
Check with you local building dept for the codes in your area. We dug down
A post hole digger will dig a nice round hole, some call it a clam shell.
When you have dug down deep enough mix and pour concrete into the holes and allow the concrete to set up at least a day.
I like to us metal post brackets to attach the 4 X 4 posts to the concrete. The bolt down into the concrete with molly's and keep the posts up off the ground.
Once attached to the concrete install the header, I first level one joist across on each end and bring the header up to the botton of both joists, spike it to the 4 X 4 and then lag bolt through the whole thing.
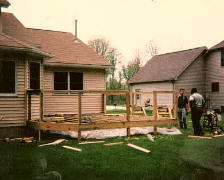
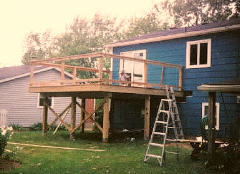
As you can see in the picture I joist out the whole deck at one time, ahile doing so cut and notch the 4 X 4's around the frame for the hand rail.
I also like to plumb up the 4 X 4's attaching them to the concrete and running the top rail around to secure the positioning.
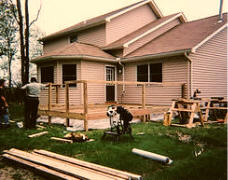
Now install the 5/4 decking, I like to use decking screws made for the type of Pressure Treated lumber I used. They come in handy down the road if you ever have to replace a deck board. Just unscrew them.
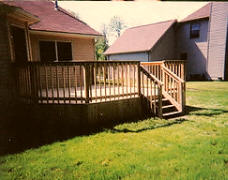
Once the decking is down install the bottom rail of the hand rail and attach the 2 X 2 spindles, and build your stairs..
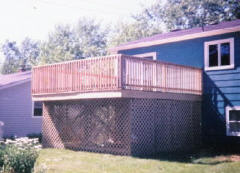
With this deck I also installed skirting all around with some areas for venting to allow the free flow of air but keeping the critters out.
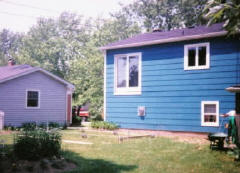
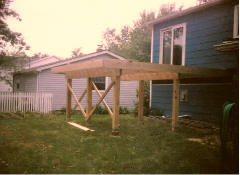
I built this deck the same way as stated above but as you can see this one is quite higher off the ground.
I used 6 X 6 posts for the support, they are stronger and have much less sway than 4 X 4's do.
Cross bracing is always a good idea to prevent any unwanted movement.