Utility knife, Putty knife, Grout saw, Single edge razor blade, Caulking gun, Tube Silicone Caulk & Paper towels.
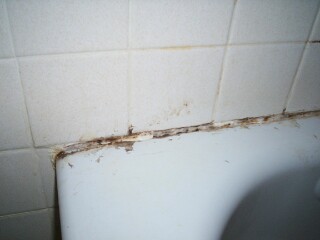
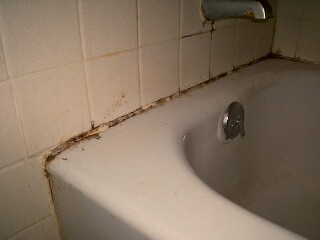
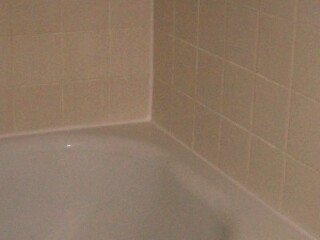
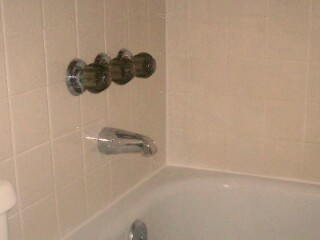
Before
This is a typical bathtub I find in rental property, that is what happens when the wrong type of caulking is used and improperly applied. Caulking in wet areas must be silicone and not latex painters type caulking. Below is the finished product..
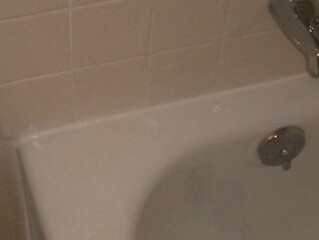
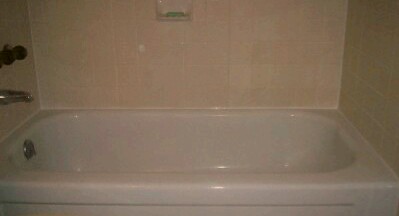
After
Recaulking a tub is basically the same as re-caulking the Vanity, same steps are to be followed just a different application.
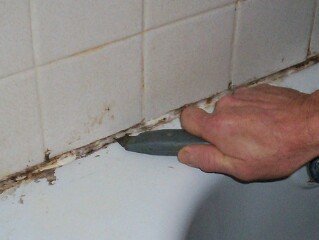
Step OneStep two
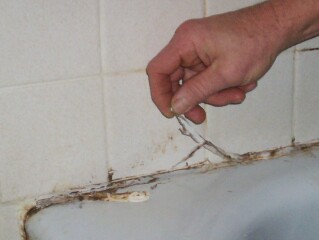
Step one is to use a sharp utility knife to cut down into the top of the old caulking gliding your knife along the wall. Step two, cut into the side along the top of tub. Use caution as not to cut yourself with the sharp blade..
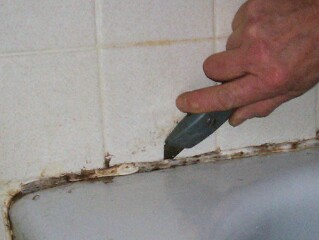
Step three
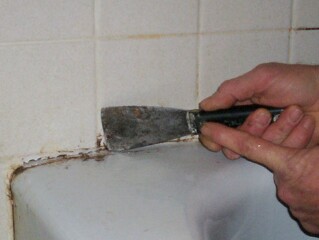
Once you have run the knife through both sides of the old caulk, peel back the old caulk. You may have to cut a slit and lift it up with the putty knike to grab it to pull it back..
Step four
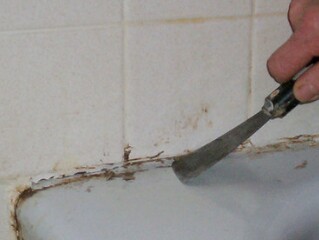
With a sharp putty knife remove the excess caulking running the putty knife under the caulk as you pull it up with your fingers. If necessary, run a single edged razor blade to remove any excess left behind. Wipe away all remaining caulk with a paper towel and discard in the trash. for more details on cleaning the grout see this page. Renew your CeramicTile Grout
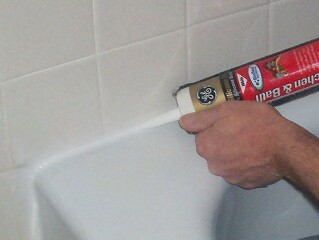
Step five
Applying the caulk. I have chosen white for this application, the ceramic tile is white with gold specs and the bathtub is white. Run a thin bead of Silicone caulk along the base where the ceramic tile meets the bathtub, using slow steady pressure with the caulking gun. Start in the corner and go along with out stopping to keep the bead uniform.
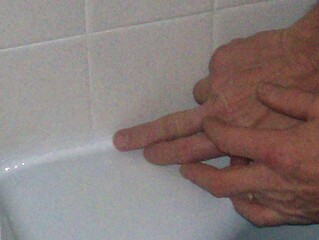
Step six
Lubricate the top of your finger with a little dishwashing liquid. With light pressure run your finger tip along the caulking to smooth out the silicone caulking. This will give a smooth finish to the caulk. Keep a paper towel handy to remove any excess caulk from your finger tip. Pay attention to detail as this is the finished product and remember to run your finger all the way in one direction, not stopping, if you stop, start again from the begining.
After you are done stand back and look at a job well done! Looks like new doesn't it..
Silicone caulking does not fully cure for 24 hours so be sure to be careful not to get the area wet.